We are testing out a new website that we designed ourselves! We will be switching over to our new web address if everything goes smoothly during our trial run. We already have some new posts, so please check it out:
http://www.the-design-eye.com/
Sunday, September 30, 2012
Tuesday, September 18, 2012
Living Room Update
Although the big reveal of the drywall in the living room was in our last post (http://scottproperties.blogspot.com/2012/09/one-year-progress.html) I wanted to do a quick update about this past weekend's work.
We started by tearing out the slat walls that were left. Originally we were going to drywall right over top of the 2 remaining slat walls, but we had a couple concerns about that. First of all, we didn't know if we would have any buckling or waves in the drywall. Secondly, the house has had an "old house" smell to it. We decided to just go all the way down to the studs to get rid of the old and start with all new.


We were able to insulate the outside wall after adding additional studs and support.


We started by tearing out the slat walls that were left. Originally we were going to drywall right over top of the 2 remaining slat walls, but we had a couple concerns about that. First of all, we didn't know if we would have any buckling or waves in the drywall. Secondly, the house has had an "old house" smell to it. We decided to just go all the way down to the studs to get rid of the old and start with all new.

After tearing off the slats, we noticed that the doorway to the entry (which is not level since the house has settled) was not a structural support. We noticed that we could tear that out and make it seem like the entry way is part of the living room instead of the stairway. That was one of the best decisions we have made yet. It makes the entire living room seem bigger and the stairs are not as dark.

We took a trip to the dump with all of our construction material from the living room so far. We had 2 layers of floor boards, 25 bags of plaster, all of the slats, a couple of windows, old heat ducts, and much more. This should be the last room that needs to be gutted.

We were able to insulate the outside wall after adding additional studs and support.

We were able to get the drywall hung by the end of the weekend.


The entire living room is brand new (with the exception of the ceiling, which will be done later). We have new electrical, heat ducts, insulation, windows, subfloor, and drywall.
Ryan and I have been talking about moving into the house in January, so we are getting to the point where our weekends are pretty full with house work. On the bright side, we still love the work and enjoy seeing the difference we can make in just a weekend.
Sunday, September 16, 2012
One Year Progress
Just over a year ago Ryan and I met with a realtor to look at a garage in town. We decided the garage was too much work, but while we had the realtor there we went down the street and looked into a house that was under foreclosure. They wanted next to nothing for it, probably because no one is crazy enough to take on the projects inside. Later that weekend I mentioned to Ryan it would be fun to learn how to renovate and decorate a house. We joked around about making an offer on the 2nd Street house....then Ryan actually made an offer (next to nothing)....and then we got the house that no one was crazy enough to buy (except us, apparently).


Office
BEFORE


We thought as long as we broke even on the house it would be something fun to work on. Little did we know that this house would become our pride and joy. We have had the house for a year and can not even believe how far we have come. We would not be this far along without the help of our family and friends, especially my dad who spends every weekend right beside us. A big thanks goes out to anyone who has helped us get here!
Kitchen
BEFORE

AFTER


Bathroom
BEFORE

AFTER


Office
BEFORE

AFTER

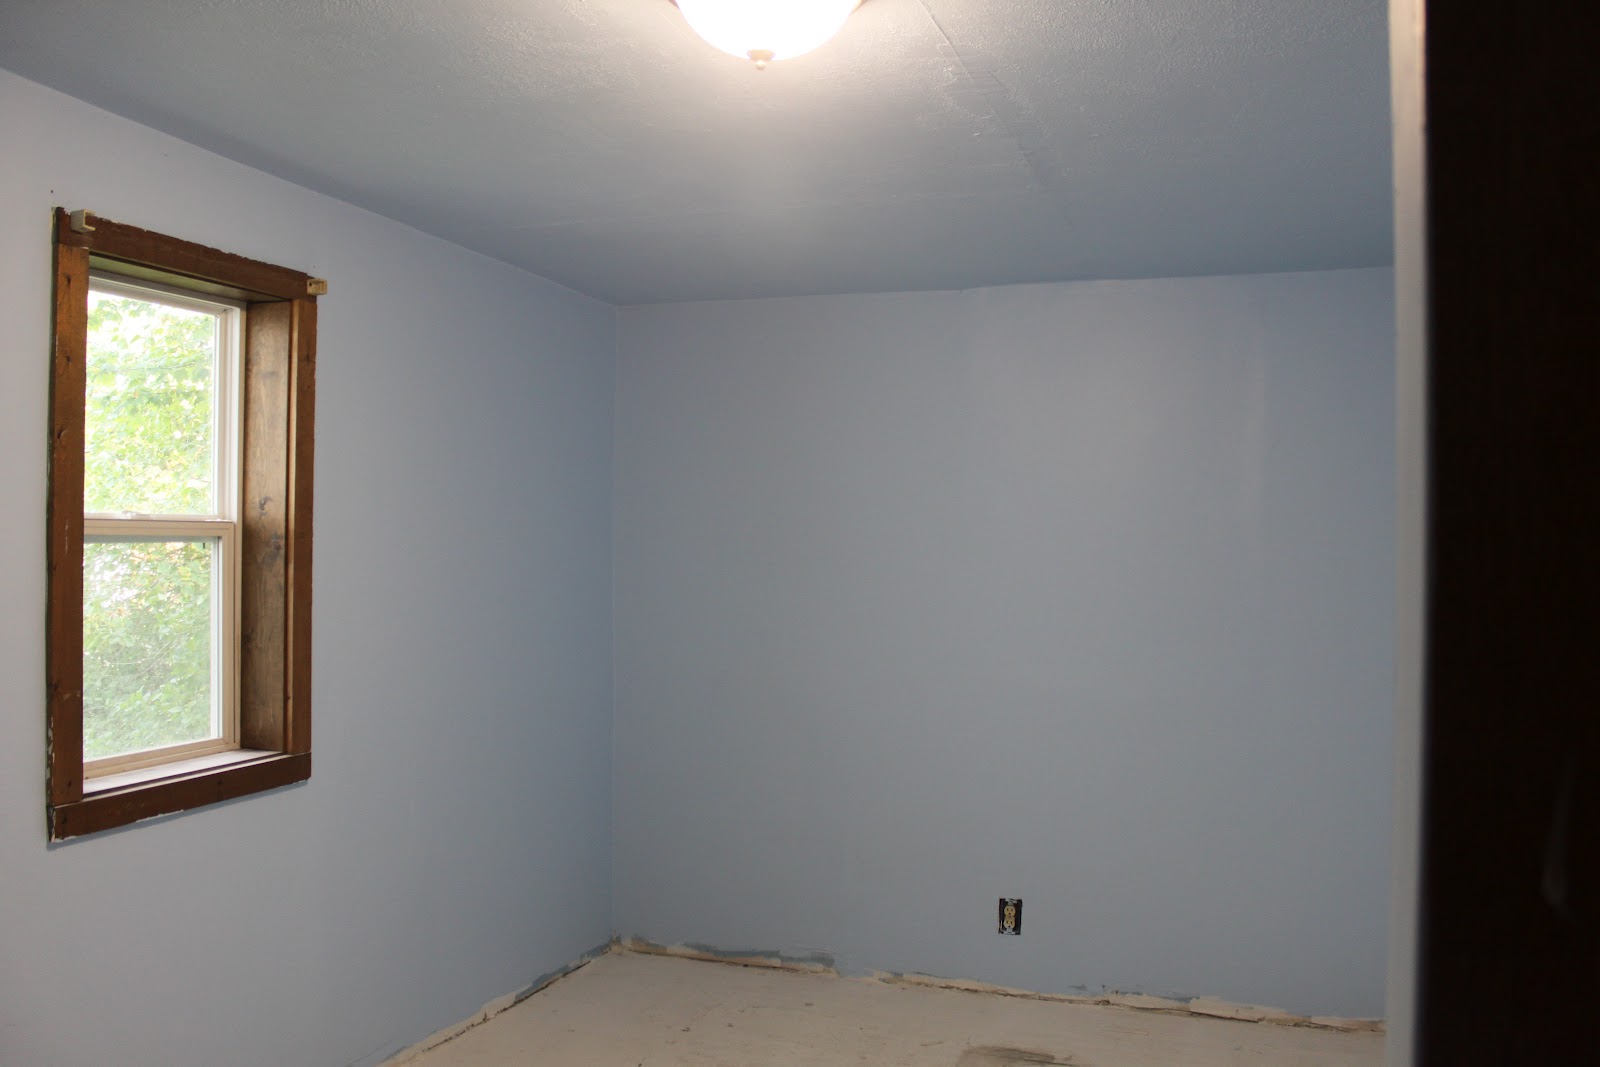
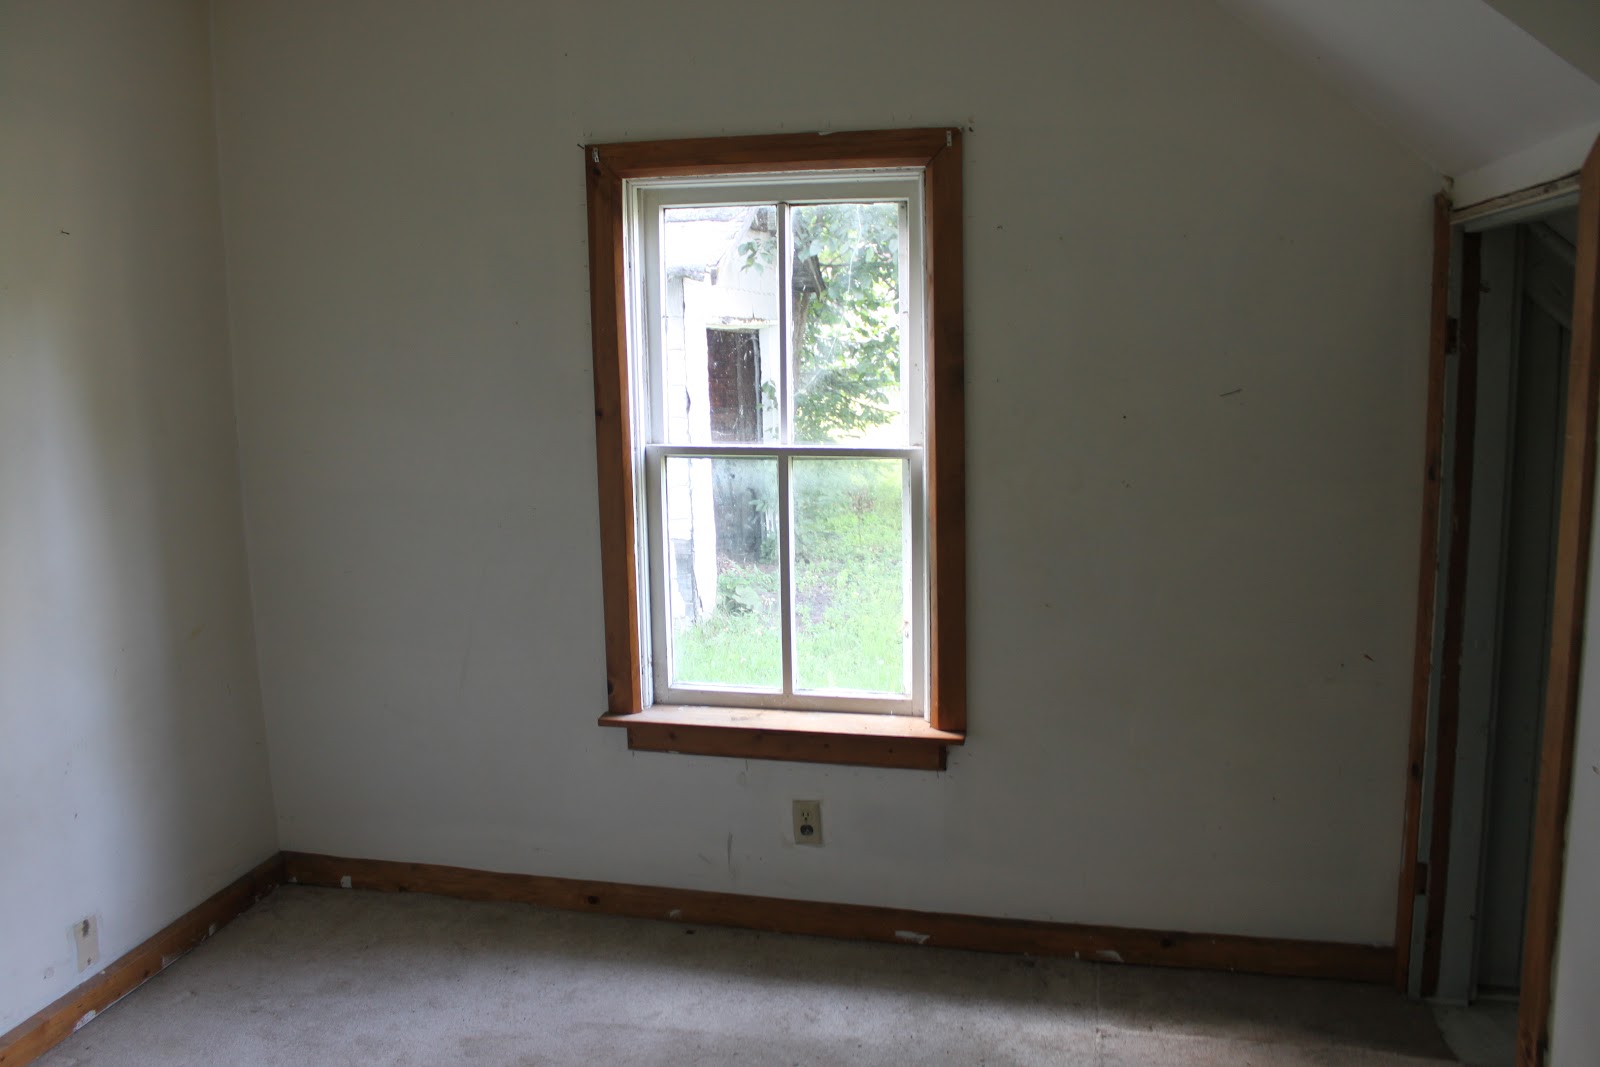
Guest Bedroom
BEFORE
AFTER


Living Room
BEFORE

AFTER


Thanks for looking! As always, we love to hear advice so please let us know what you think.
Monday, September 10, 2012
This Will FLOOR You!
We are slowly working our way through the downstairs of the house. This week we spent our time in the living room. Anyone who has walked through our house could tell you, the living room needs a lot of work. The floor joists were warped and the center of the room was noticeably higher than the edges. It also smelled like cat urine and had paneling with drywall mud on the walls. It was a very intimidating room with all of the work that needed to get done. We are only part way there, but it already looks like a different house.
Here is the picture from when we bought the house:

As seen in an earlier post, we pulled down the paneling, many layers of wallpaper, slat and plaster, and more wallpaper to find rough cut beadboard:

As much as we liked the beadboard walls, they did not have any insulation behind them. We ended up tearing everything down the the studs and floor joists:

While the floors were up, we insulated the crawlspace around the foundation, ran the heating ducts from our new furnace, and finished some electrical work:

We also moved our fireplace mantel. The mantel will be put back in after the white paint and sharpie marker is stripped off. Hopefully it will be a long time before we ever have to see that crawlspace again:

Just like we did in the kitchen, we added in new floor joists for support and leveled out the original ones. We laid down a new subfloor to finish out the day:

It is still a rough looking room, but after we put in new drywall everything will be like new. We were able to get a lot more done than we thought possible in just one day.
Today is the one year anniversary of buying the house. Next weekend we will be taking progress pictures for each room we have worked in. It truly is hard to believe it is the same house that we bought one year ago.
Monday, August 27, 2012
Father-Daughter Project
Nothing says family bonding like Father-Daughter roofing projects. This weekend was busy, but we were still able to tackle a much needed project. The porch roof was in need of repair before winter. The roof is pretty flat, so it won't be seen much from the road, but the upstairs bedroom looks out onto it. Now it is a nice looking roof! We were able to get the project done relatively quickly and even did some drywall work in one of the guest bedrooms.


Sunday, August 19, 2012
Preparing for Winter
We are almost coming up on the one year mark of owning this project house. Ryan and I were recently going through pictures from when we started and could hardly believe the difference. I will write a post soon with before and afters of each room at the one year mark, but here is a sneak peek:

This weekend we worked on updating the windows in the house and got 6 new vinyl windows put in. 3 went into the living room and 3 more went into the master bedroom, including one that replaced this window made of cling-wrap and duct tape:

Here are some pictures of the updated windows:


We also enclosed some plumbing and electrical that runs from the crawl space into the upstairs bathroom. It runs through the guest bedroom downstairs:


Lastly, we wired 2 pendant lights in the kitchen. There really isn't much more to do in the kitchen until it is finished!

Our new furnace was delivered to the house this weekend and will be put in some time next week. We have decided we will be moving into the house in January if all of our plans work out, so we are approaching crunch time. Our next big projects include putting new roofing on the porch and back half of the house and gutting out the living room. It's one adventure after the next!
Monday, July 9, 2012
Kitchen Sneak Peek
It is amazing what a week off of work (for your husband) can do for your house! We made a lot of progress this past week that we would like to share. We were able to put up the rest of the furrow strips for the ceiling tiles, install 200 tiles, and put in 5 can lights. We still need some extra tiles for around the edges, but we left them off so we could paint easily.

We painted the kitchen blue (Summer fun blue E22-3 by Dutch Boy). Although it looks like a lot right now, once we put in the cabinets and white backsplash a lot of it will be hidden. Only 3 walls were painted blue, the other will be a cream color that will carry into the dining room.
We also delivered the primed cabinets to the house, but didn't have time to officially install them. Here are a couple pictures of what the layout will look like:


It is hard to believe it is the same house we bought in September! We have some much needed time off scheduled for some family trips so we may not have an update for a couple of weeks. Next up we will be installing the cabinets and looking for kitchen flooring and trim. Thanks for reading!
Subscribe to:
Comments (Atom)